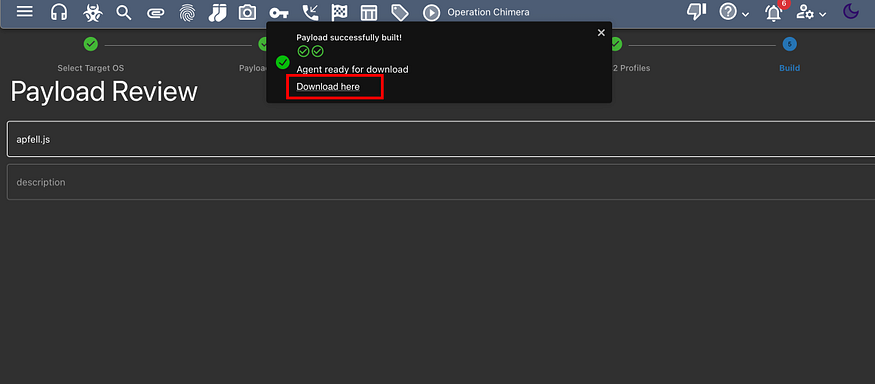
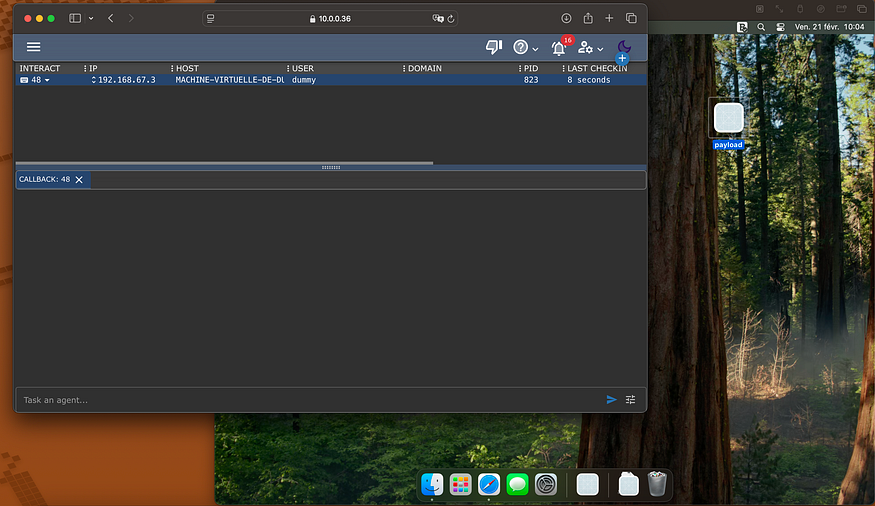
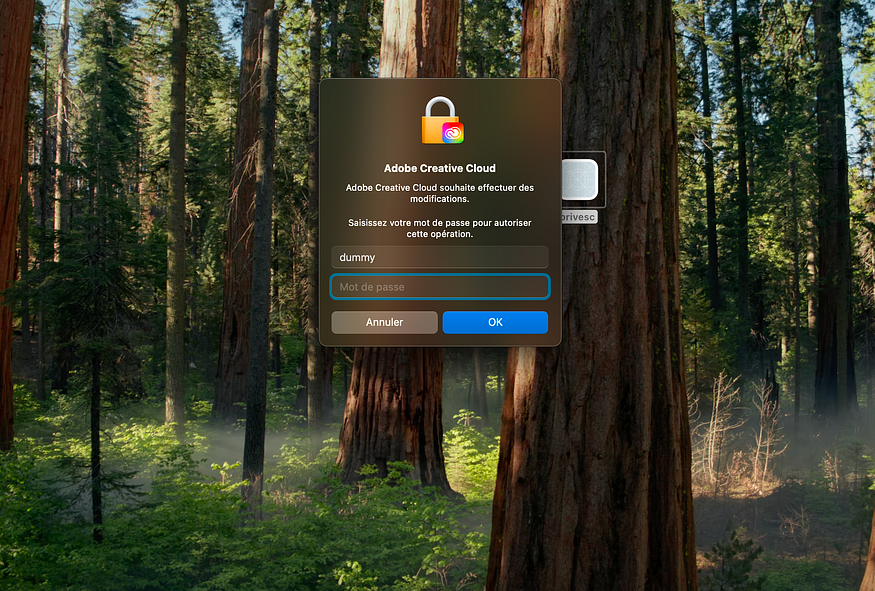
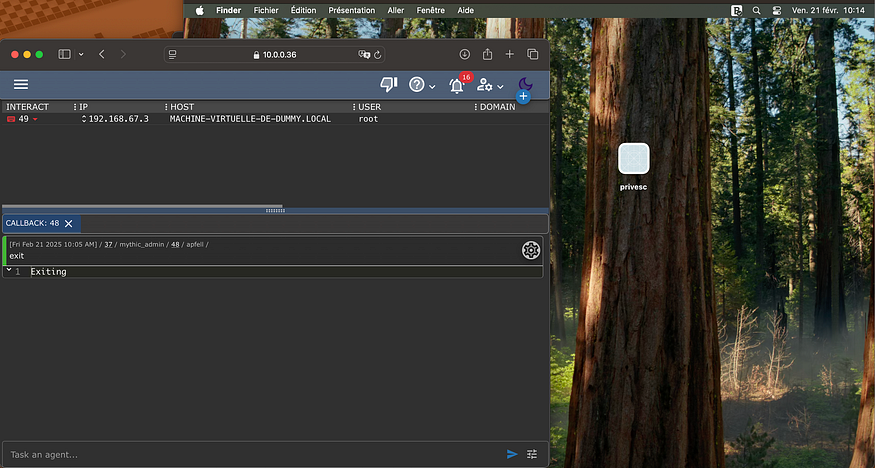
Setup and weaponize Mythic C2 using DarwinOps to target MacOS
We’ll look at how to set up Mythic C2 and its Apfell implant on MacOS. We will weaponize that implant to bypass EDRs using BallisKit DarwinOps. We will also show how to use the privilege escalation module to gain root access.
1. Verify Dependencies
Before starting, make sure you have all the necessary dependencies to build mythic-cli
:
2. Download Mythic from GitHub
Clone the Mythic repository from GitHub and navigate into it:
3. Install Docker and Docker Compose
Mythic requires Docker and Docker Compose to run its services. Use one of the following scripts to install Docker:
Debian:
Kali Linux:
Ubuntu:
4. Build Mythic-CLI
To build mythic-cli
:
If everything goes well, you should have a ./mythic-cli
file ready to use.
5. Start Mythic
Now that the script is executed, Mythic is ready to be launched:
Tip: It’s possible that some containers may take time to initialize and communicate with other services. It’s common to see error messages initially; the important part is that all containers are started, as shown below:
6. Configuration
All configuration is done through the .env
file or using the command:
If the C2 server needs to be accessible remotely, you must execute the following command:
You can now access the UI panel from your server’s IP address. If you cannot connect, make sure ‘BOUND LOCALLY’ is set to false.
Access Mythic UI via:
You should see a login panel like the one below:
Username: mythic_admin
Password: The password is automatically generated and can be found in the .env
file. Alternatively, use the command:
7. Installing Payload and C2Profile
Once logged in, go to the Payloads section:
Currently, nothing is installed. Let’s install our payload and communication channel.
Install Apfell: This is the Mythic payload for macOS that uses JXA:
Install HTTP C2Profile: To communicate with our implant, install the HTTP C2Profile:
You should now see:
8. Generate Apfell Payload
To generate an Apfell payload:
Select MacOS (should be the default if Apfell is the only installed payload).
Select Apfell (also default if it’s the only installed payload).
Add any desired commands (these won’t impact the overall process).
When selecting the C2 Profiles, make sure to include HTTP:
Verify that the parameters match. By default, it’s set to https://
and port 80
. It won't work if these don't align:
Once parameters are entered, you can download the payload:
9. Using DarwinOps
Now that you generated the payload, the antivirus programs might flag and delete it. So we need to weaponize it. For that we will rely on DarwinOps, the Redteam toolkit for MacOS!
Use the following command line to weaponize the Apfell payload:
2. Execute the generated payload:
If you need more privilege, you can use the Privesc module to pass yourself off as a plausible application.
As you can see, we have root access via our implant, and DarwinOps also allows you to add persistence via other modules.
REFERENCES
Last updated
Was this helpful?